Brake line repair is the process of fixing the torn-out or un working brakes to prevent danger and improve comfort when riding your bicycle. This also helps the beginner to have knowledge and skills on brake repair. Here are the steps in how to repair a line break on your bike:
Brake Line Repair Method 1 – Check the Brake Pads
The first thing you need to look at is whether your brake pads are working well or if they need changing. When surveying them look whether the worn out is complete or you can still fix them. They need to be at least 1/4” of rubber center of clamp and tire when the caliper is connected to stop the bike.
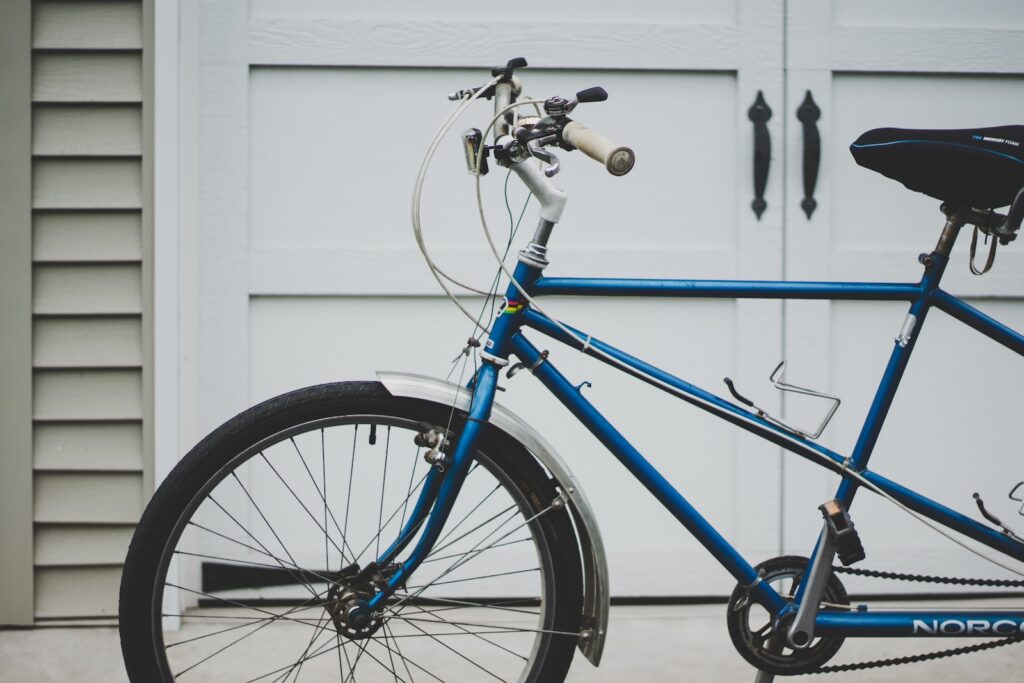
Check the Cables
When checking cables make sure it moves by sequencing the brake handles, if it fails to move look where it has stuck in housing cables or check whether the clamp in the handle is loose.
Make Sure the Caliper Moves When the Cable Pulls on it.
Confirming whether the caliper moves after one pulls cable you need either to look for someone to operate it while you watch or you squeeze the handle and look the caliper closely and open. If the brake cables at the handle move but the end of the caliper fails, the cables might be broken inside the housing. You need to replace them.
Watch the caliper to make sure both sides clamp against the bike wheel.
Effective braking cannot happen when one side is stuck and only one side of the pad is engaging the wheel. You only need to loosen the bolts and hold the caliper also and free up the mechanism by working in and out. This needs oil to lubricate the moving parts of the light machine.
Brake Line Repair Method 2 – Changing Brake Pads
Purchase new brake pads. A bicycle shop can probably supply you with the correct brake pads for your bike if you know your bike model and make. When the correct one comes you need to replace the workout.
Remove the nut and washers from your old brake pads, and pull the pad free from the caliper arm.
On most bikes, you need to remove calipers from the frame to create space to work on it. Remove nut at the top center of caliper side. You can do this without disconnecting the caliper from the bike frame. If caliper is required to be removed, just remove the nut on top. This is to create a space. Then slide the assembly out and replace it without removing the assembly out. This keeps all washers the caliper arms and spacers in the correct space while working on it.
Install the new pads, being careful to keep the pad surface “true”, or aligned with the tire.
When preventing the pads from screeching, slightly toe the pad to make the trailing edge connect with the wheel. First, make sure the pad’s height is nearly the center of the metal rim for the bike wheel.
When mounting the pads be medium, low makes slide off the rim and may cause a problem situation while high mounting makes the pad rub against the sidewall of the tire which makes it unpleasant.
Brake Line Repair Method 3 – Servicing the Cables
When the brakes do not pertain, they should range to 1⁄4 inch (0.6 cm) from the wheel rim. But when the level is clasped it should make about half the distance the level moves.
Check out the repair kit:
Lubricate the cables
You have to spray the cables housing at the Ferrell underneath the brake level with lubricant. The best oil to spray is light machine oil with a nozzle similar to 3 in me or the one purchased at the bike shop.WD-40 with similar products may be used to lubricate off the cables. When they vaporize it leaves little lubricant residue on the cable.
Remove the cable from its casing, only if it is very stiff, or difficult to operate.
It can be done by removing the clamp at either brake level or caliper. And plucking it out the opposite end. When removing cable use either the WD-40 or aerosol solvent to flush any debris or dirt from the tube cable after removing it. If not damaged apply a light coat of lithium grease oil machine to the cable then reinstall it.
Replace either the cable or the complete cable assembly.
If the steps above did not solve the problem of the cable not moving when the brakes are applied. When you want to replace first you have to measure the cable diameter from the length of the original equipment. After buying the cable just fix it and test whether it is working well.
Types Of Brakes
Brakes can stop or slow your bike speed in a controlled manner to safely stop. It is also a levers at the bars. And the braking mechanism that stops or slows the wheel from turning.
Depending on the type of riding you wish to do, there are many different options you can do with your bike. Brakes technology has come over in many years as the technology improves the cost of buying bike increases also making it difficult to own a bicycle.
As you’ll see in the discussion, there are many different bicycle brake choices for today’s bikes. These are the best bike brakes you can purchase for your bike
V-Brakes
When this type of break came out they replaced rim brake performance for off-road bicycles, hybrid bikes, and tourers. Even though there is a new model of these bikes, still it offers great braking. It performs well when two long arms, providing powers brakes cable pulls there more power. Like in muddy situation.
Cantilevers Brakes
Cantilever brakes work like V-brakes. But with a span cable between them, which is pulled vertically to activate the brakes. They perform better even after getting clogged with mud. Cantilevers brakes can be tricky to set up but persevere and you get a set of brakes like V-brakes and it becomes easy and quick to change if pads are often cartridge-style.
Disc Brakes
What are the main kinds of disc brakes? There are two different kinds of bicycle disc one is hydraulic disc brakes which uses a level connected to the caliper by a hose with incompressible fluid which makes them much more powerful when applied.
The second one is mechanical brakes which are connected to the brake by cable to caliper using a normal level. This type of break tends to be cheaper as they are not complicated but they are less powerful than hydraulics discs brake and they also need to be elevated for cable stretch and pad wear.
Using these bicycle disc brakes offers these benefits:
- They give controllable and predictable stopping power regardless of the condition of the bike is.
- Disc brakes are fitted across the full range of bikes like cyclocross, hybrid, and gravel even when placed on kids kid’s bikes
Coaster Brakes
They work when pedaling is activated backward. They were made for less expensive bikes until the 1980s when the clutch presses the brake mantle was reversed by rider pedals.
Pros
- They are cheap
- Easier to apply
Cons
- The coastal brakes can be activated by a small backward motion not caused by pedaling backward thus flowering the speed of the bike.
- Many children’s bikes used coastal brakes before but modern ones never use them.
Drag Brakes
This type of brake was used when the kinds of bike brakes could cause the rim to heat enough to blow out. It slows down the bike on long descent way. The brakes wrap the cable around the intersection to apply pressure against the wheel to slow it down until it stops.
Rim Brakes

Rim brakes are applied power formulated by braking contact of rubber, cork, or even rubber pad to the rim of a bicycle wheel, away from the rubber tire or on the inside of the wheel. When you pull the lever mounted on the handlebar the rim brakes are applied. Although they are found less expensive, it only found on the cheap bicycle being built nowadays.
Pros
- Rim brakes are still available at a cheaper price
- They are light when using
- They are easy to maintain
- Durable
Cons
- The rims catch water, grim, and grease from the sideways,
- Rim pads have less power when the rim is wet, dirty, greasy, or muddy making them less ineffective
Frequently Asked Questions:
What is brake line repair on a bike, and why is it necessary?
Brake line repair involves fixing or replacing the brake cables and housing on a bicycle’s braking system. It’s necessary to maintain safe and effective braking.
How can I tell if my bike’s brake lines need repair or replacement?
Signs of brake line issues include spongy or unresponsive brakes, frayed or damaged cables, or difficulty in braking. These are indicators that your brake lines may need attention.
Can beginners with little bike repair experience perform brake line repairs?
Yes, beginners can perform basic brake line repairs, but it’s essential to follow step-by-step instructions and take your time. More complex issues may require professional assistance.
What tools and materials do I need for a brake line repair on my bike?
You’ll need basic tools like a set of Allen wrenches, cable cutters, a cable housing cutter, and replacement brake cables and housing. The specific tools may vary depending on your bike’s type and brake system.
Are there different types of brake cables and housing, and how do I choose the right ones for my bike?
Yes, there are different types, such as brake cables for road bikes and mountain bikes. Choose the cables and housing that match your bike’s type and braking system.
Conclusion
Finally, it is your choice to choose the best type of brakes that will suit you. Also when buying it is advisable to look beyond the model and assess how and where you often ride your bike. Because your bike brakes need to keep up with your abilities. When you leave them to wear out you will be endangering yourself and your bike.
As this can cause an accident or even forced you to buy a new one. When you have all that figured out, hang around and look for the best brake from the retailer. In any case, hope this simple brake line repair guide will help you in trying times. And if you’re a bike lover with tips to share, explore TikTokStorm to amplify your TikTok presence and connect with fellow enthusiasts.