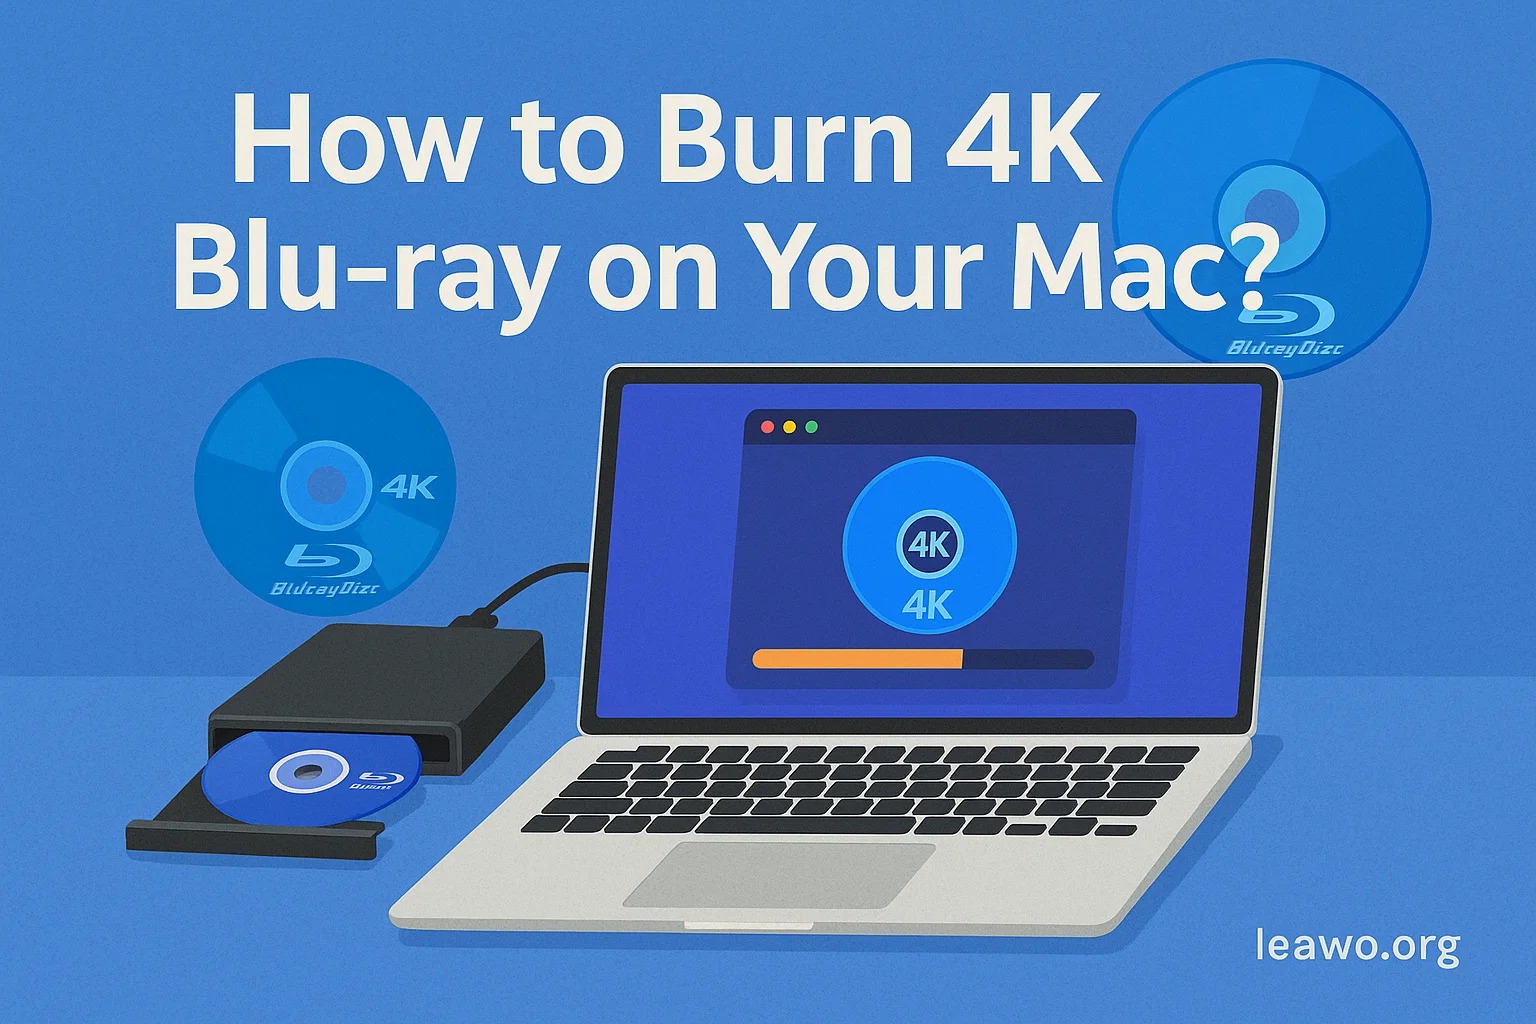
4K Blu-ray, also known as Ultra HD Blu-ray or UHD Blu-ray, is a disc format that stores video in 4K resolution. It offers stunning picture quality with four times the pixels of standard 1080p Blu-ray. These discs can hold up to 100GB of data. They support HDR (High Dynamic Range) for better colors and contrast. Many people want to create their own 4K Blu-ray discs to preserve home videos or personal projects.
macOS does not support Blu-ray burning natively. Apple removed native Blu-ray support years ago. The operating system lacks built-in tools for authoring or burning Blu-ray discs. You cannot use the default Finder or Disk Utility for this task. This means Mac users need third-party software and external hardware. The good news is that solutions exist. With the right tools, you can burn 4K Blu-ray discs on your Mac.
Understanding 4K Blu-ray Requirements on macOS
Before you start burning 4K Blu-ray discs, you need to understand the requirements. The process demands specific hardware and software. You also need the right media and source files. Let’s explore each requirement in detail.
1. Compatible External 4K Blu-ray Burner
Your Mac needs an external Blu-ray burner. Most modern Macs do not have built-in optical drives. Even older models with drives cannot burn Blu-ray discs. You must buy a USB external burner that supports UHD Blu-ray.
Look for burners labeled as “UHD-friendly” or “4K compatible.” Popular brands include LG, ASUS, and Pioneer. The burner should connect via USB 3.0 or USB-C for faster speeds. Check that the burner supports BDXL format. This format is necessary for burning large 4K files. Read reviews before purchasing to ensure Mac compatibility.
2. 4K Blank Media Choices
You need blank UHD Blu-ray discs. These are different from standard Blu-ray discs. Regular Blu-ray discs hold 25GB or 50GB. UHD Blu-ray discs can hold 66GB or 100GB. This extra space is crucial for 4K video files.
Choose BD-R DL (Dual Layer) discs for 50GB capacity. For larger projects, use BD-R XL (Triple or Quad Layer) discs. These offer 100GB of storage. Make sure the disc packaging says “UHD” or “4K compatible.” Cheap or generic brands may cause burning failures. Stick with reputable manufacturers like Verbatim or Sony.
3. UHD Authoring Software for Mac
macOS does not include Blu-ray authoring software. You must install third-party UHD authoring software. This software prepares your video files for burning. It creates the proper disc structure and menu system.
UHD authoring software differs from regular Blu-ray authoring software. Regular software handles standard 1080p Blu-ray only. UHD authoring software supports 4K resolution and HDR. It can process HEVC (H.265) codecs commonly used in 4K video. The software also handles larger file sizes without compression issues.
Options for Mac include Leawo UHD Creator and other professional tools. Some programs offer free trials. Others require a one-time purchase or subscription. Choose software with good reviews and active support.
4. 4K Source Footage Requirements
Your source video must meet certain standards. The file should be in 4K resolution (3840 x 2160 pixels). Common formats include MP4, MKV, MOV, and AVI. The video should use HEVC or AVC codecs for best results.
Check the video bitrate. Higher bitrates mean better quality but larger files. A typical 4K movie requires 50-100 Mbps bitrate. Your footage should also match the frame rate you want. Common options are 24fps, 30fps, or 60fps.
Audio tracks should be high-quality. Use formats like AAC, DTS, or Dolby Digital. Multi-channel audio (5.1 or 7.1) enhances the viewing experience. Make sure your source files are properly encoded before burning.
How to Burn a 4K UHD Blu-ray on Mac?
Now let’s walk through the actual burning process. We will use Leawo UHD Creator for this tutorial. This software is designed specifically for Mac users. It offers a simple interface and reliable performance.
Step 1: Download and Install Leawo UHD Creator
Visit the official Leawo website. Download the Mac version of UHD Creator. Open the downloaded DMG file. Drag the application to your Applications folder. Launch the program from your Applications.
Step 2: Connect Your External Burner
Plug your external UHD Blu-ray burner into your Mac. Use a USB 3.0 or USB-C port for best performance. Wait for macOS to recognize the device. You should see it appear in Finder. Insert a blank UHD Blu-ray disc into the burner.
Step 3: Add Your 4K Video Files
Open Leawo UHD Creator. Click the “Add Video” button on the main screen. Browse your computer and select your 4K video files. You can add multiple files if needed. The software will load them into the project list. Check that all files appear correctly.
Step 4: Choose Disc Menu Template
Select a menu template from the built-in library. The menu appears when someone plays your disc. You can customize the menu with your own background and text. Click “Edit” to modify the menu design. Choose fonts, colors, and button styles. Preview your menu before continuing.
Step 5: Adjust Output Settings
Click the green “Burn” button at the top right. A new window will open with burning options. Select “Burn to disc” from the dropdown menu. Choose your external burner from the device list. Set the disc label (what appears when you insert the disc).
Step 6: Configure Advanced Settings
Click the “Advanced Settings” button if available. Set the video quality to “High” or “Best.” Choose the TV standard (NTSC or PAL) based on your region. Verify that the output format is set to UHD Blu-ray. Check that HDR is enabled if your source supports it.
Step 7: Start the Burning Process
Review all your settings one final time. Make sure your blank disc is inserted. Click the “Burn” button to start. The software will begin encoding and burning. This process can take 30 minutes to several hours. Do not disconnect the burner or close your Mac during burning.
Step 8: Verify the Burned Disc
Once burning completes, the disc will eject automatically. Remove the disc and label it with a marker. Insert the disc into a UHD Blu-ray player to test. Check that the menu appears correctly. Play the video to ensure quality is acceptable.
Common Problems and Fixes When Burning 4K Blu-ray on Mac
Even with the right tools, problems can occur. Here are the most common issues and their solutions.
3.1. Burning Fails at 50–90%
This is one of the most frustrating problems. The burning process starts normally but fails near the end.
Common Causes:
- The disc has scratches or defects
- Your Mac goes to sleep during burning
- Insufficient RAM or processing power
- Background apps interfere with burning
- The external burner overheats
Solutions: Use a brand-new, high-quality blank disc. Never reuse or buy cheap discs. Go to System Preferences and set your Mac to never sleep. Close all other applications before burning. Make sure no software updates are running. Keep your burner in a cool, ventilated area. If the problem persists, try burning at a slower speed. Most software allows you to reduce burning speed in settings.
3.2. The 4K Disc Won’t Play on a Hardware Player
You successfully burned the disc but it won’t play in your player. This is a common compatibility issue.
Common Causes:
- The player does not support UHD Blu-ray format
- Region code mismatch between disc and player
- The disc was not finalized properly
- The player firmware is outdated
- The disc menu format is incompatible
Solutions: Verify that your player specifically supports UHD Blu-ray. Check the player manual or manufacturer website. Update your player’s firmware to the latest version. In your authoring software, make sure “Finalize Disc” is checked. Try burning without a complex menu structure. Use simple menus or no menu at all. Test the disc on a different UHD player if possible.
3.3. File Too Large for Disc
Your 4K video file exceeds the disc capacity. This prevents burning from starting.
Common Causes:
- Video bitrate is too high
- Multiple long videos on one disc
- Wrong disc type selected (using 50GB instead of 100GB)
- Uncompressed audio tracks
- High-resolution menu backgrounds
Solutions: Use a 100GB BD-R XL disc instead of a 50GB disc. Compress your video slightly using your authoring software. Most programs offer compression options. Reduce the video bitrate to 50-80 Mbps. This maintains good quality while reducing file size. Remove unnecessary audio tracks or use compressed audio. Simplify your disc menu with smaller background images.
3.4. macOS Doesn’t Detect the External Burner
Your Mac fails to recognize the connected burner. The device doesn’t appear in Finder or your software.
Common Causes:
- Faulty USB cable or port
- Driver issues with the burner
- macOS security settings blocking the device
- The burner requires external power
- Incompatible burner model
Solutions: Try a different USB port on your Mac. Use a USB 3.0 port if available. Replace the USB cable with a high-quality one. Some burners need external power adapters. Check if your burner came with a power cable. Restart your Mac with the burner connected. Go to System Preferences > Security & Privacy. Allow any blocked devices or software. Visit the burner manufacturer’s website. Download the latest Mac drivers if available.
Conclusion
Burning 4K Blu-ray discs on Mac is possible with the right setup. You need an external UHD burner and compatible software. Choose high-quality blank discs for best results. Prepare your 4K source files properly before burning.
Follow the step-by-step process carefully. Use reliable software like Leawo UHD Creator. Take your time with each step to avoid errors. If problems occur, refer to the troubleshooting section.
Creating 4K Blu-ray discs preserves your memories in the highest quality. The discs last for decades when stored properly. They offer better quality than streaming or regular Blu-ray. With patience and practice, you can master 4K Blu-ray burning on your Mac.
Remember to test your burned discs immediately. Make backup copies of important projects. Keep your software and burner firmware updated. Enjoy creating your own professional 4K Blu-ray discs at home.